Noțiuni de bază
Descărcați și instalați
Descărcați software-ul pe computerul dvs. Windows sau Mac și lansați-l odată ce este instalat.
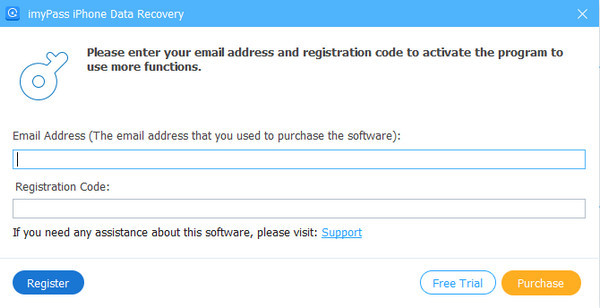
Inregistreaza-te
Dacă ați achiziționat iPhone Data Recovery, imyPass vă va trimite prin e-mail codul de înregistrare. Trebuie să introduceți adresa de e-mail și să copiați codul într-o anumită casetă din fereastra Înregistrare. Apoi, puteți înregistra software-ul cu succes și vă puteți bucura de funcțiile sale complete.
Actualizează programul
Pentru a actualiza imyPass iPhone Data Recovery, puteți accesa Meniu din partea de sus a interfeței și faceți clic Verifica actualizarea…, atunci va detecta dacă versiunea curentă este cea mai recentă. Dacă nu, vă va permite să îl actualizați. De asemenea, puteți accesa site-ul oficial imyPass pentru a descărca cea mai nouă versiune.
Asistență iyPass
imyPass vă oferă asistență tehnică printr-un ghid de ajutor online. De asemenea, puteți contacta echipa noastră de asistență prin support@imypass.com.
Recuperați de pe dispozitivele iOS
Pasul 1 Conectați dispozitive
Faceți dublu clic pe program pentru a-l lansa și alegeți Recuperați de pe dispozitivul iOS. Conectați dispozitivul iOS la computer printr-un cablu USB sau Lightning.
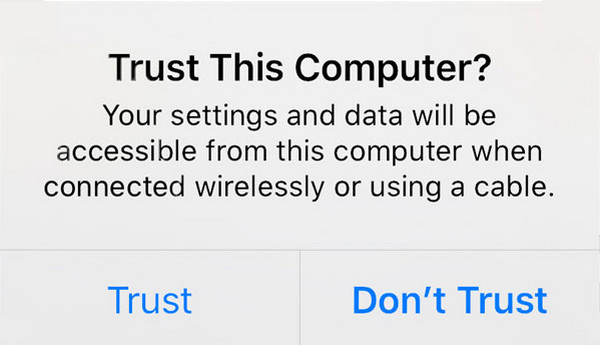
Deblocați dispozitivul. Vă va întreba dacă aveți încredere în computer sau nu. Robinet Încredere. Apoi apasa Următorul pe computerul dvs. Dacă dispozitivul dvs. este un iPhone 4/3GS, iPad 1 sau iPod Touch 4, va trebui să descărcați un plug-in și să intrați în modul de scanare urmând pașii de pe interfață.
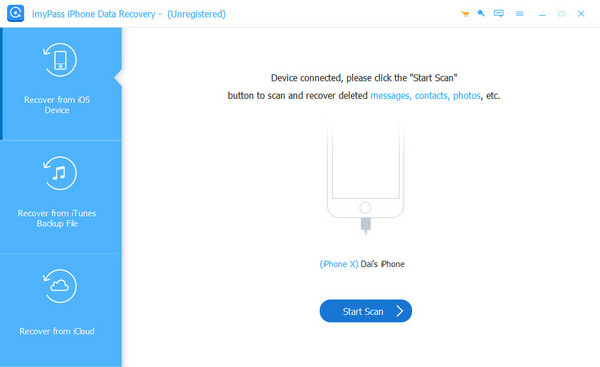
Odată ce conexiunea este stabilită, faceți clic pe Porniți scanarea butonul și îți va scana toate datele de pe iPhone.
Pasul 2 Alegeți Date
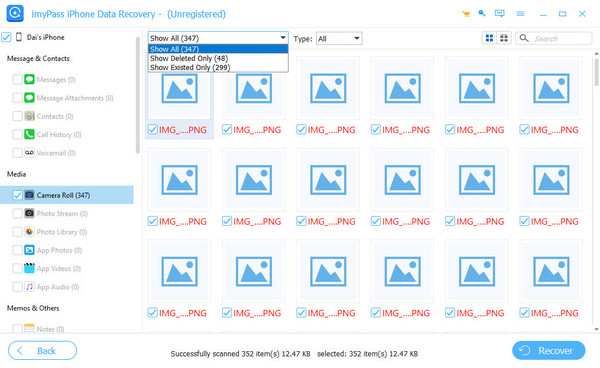
După cum puteți vedea în imaginea următoare, toate tipurile de date vor afișa în bara din stânga dacă programul detectează sau nu. Detaliile datelor scanate de pe dispozitivul dvs. vor fi afișate în mijloc și în dreapta.
În partea de sus, puteți filtra rezultatul comutând între Arată toate și Afișați numai șterse. De asemenea, puteți previzualiza aceste date, cum ar fi informațiile de contact, în bara din dreapta.
Selectați datele pe care doriți să le recuperați bifând caseta de dinaintea fiecărei date.
Pasul 3 Recuperați datele
După ce ați selectat toate datele, faceți clic pe Recupera butonul din colțul din dreapta jos pentru a începe. Apoi va apărea o fereastră ca imaginea următoare. Acesta va salva datele țintă pe computer. Clic Deschis pentru a seta calea de salvare pentru datele dvs. și pentru a le salva ca copie de rezervă.
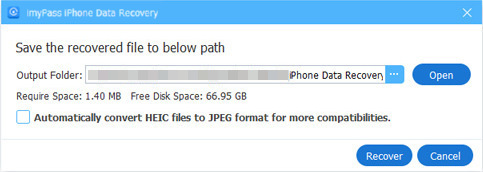
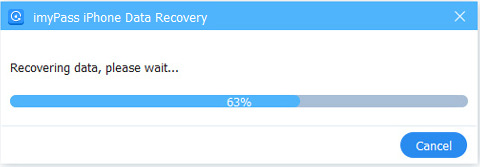
În câteva secunde, se va face.
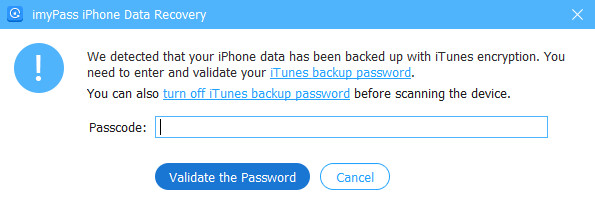
Notă: Dacă ați făcut o copie de rezervă a datelor iPhone pe iTunes cu criptare, software-ul va apărea o fereastră în care puteți introduce parola iTunes. Trebuie să introduceți parola pentru ca programul să poată continua să vă scaneze datele.
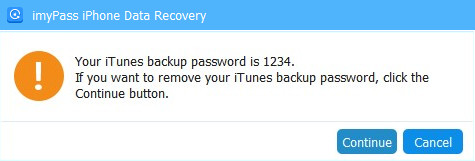
Dacă nu aveți parola iTunes, acest software vă va seta o parolă simplă.
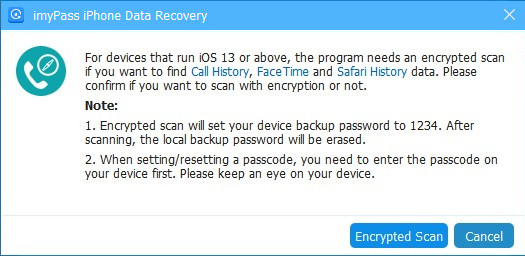
Pentru utilizatorii iOS 13 sau versiuni ulterioare, trebuie să confirmați dacă doriți să scanați datele Istoricul apelurilor, FaceTime și Istoricul Safari cu criptare sau nu. Dacă doriți, vă rugăm să faceți clic Scanare criptată. Dacă nu, faceți clic Anulași nu veți vedea datele din Istoricul apelurilor, FaceTime și Istoricul Safari în rezultatele scanate.
Recuperați din Backup iTunes
Dacă doriți să recuperați backupul iTunes, ar trebui să aveți iTunes instalat pe computer.
Pasul 1 Descărcați backup iTunes
Faceți dublu clic pentru a rula acest program. Pe computer, alegeți Recuperați din fișierul de rezervă iTunes.
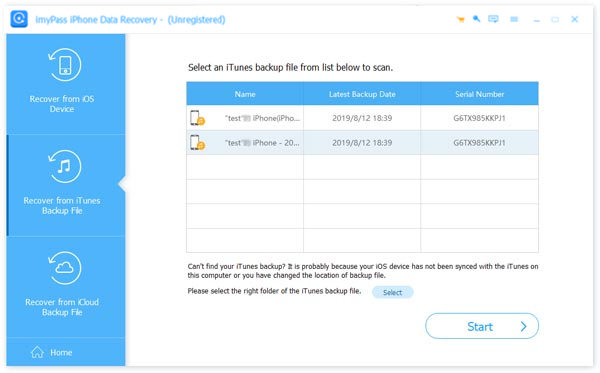
Programul va detecta automat toate copiile de rezervă pe care le-ați făcut în iTunes. Alegeți o copie de rezervă pe care doriți să o recuperați în funcție de data copiei de rezervă (asigurați-vă că aveți cea mai recentă versiune de iTunes instalată).
Dacă ați schimbat odată folderul implicit de backup iTunes, faceți clic Selectați pentru a-l alege manual.
Când ați selectat o copie de rezervă, faceți clic start pe colt.
Pasul 2 Alegeți Datele
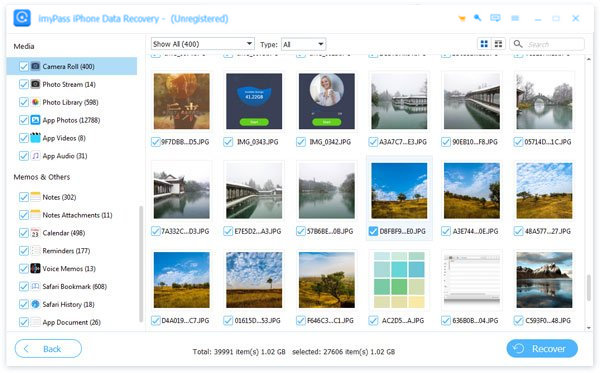
Programul va începe să scaneze rapid backup-ul iTunes și să vă arate datele din acel backup. Filtrați datele bifând sau debifând tipul de fișier din bara din stânga, selectând Arată toate, Afișați numai șterse, și alegând tipul de fișier din partea de sus.
Verificați toate datele pe care doriți să le recuperați. Apoi faceți clic pe Recupera butonul din colțul din dreapta jos. Treceți la pasul următor.
Pasul 3 Recuperați datele
În fereastra pop-up, faceți clic Deschis pentru a configura folderul de ieșire pe computer. Clic Recupera.

Procedura de recuperare se va face în câteva secunde.

Recuperați din Backup iCloud
Înainte de a vă recupera din backupul iCloud, asigurați-vă că aveți copii de rezervă în iCloud.
Pasul 1 Conectați-vă la iCloud
Faceți dublu clic pentru a rula acest program. Conectați dispozitivul iOS la computer și atingeți Încredere în fereastra pop-up a dispozitivului dvs. Pe computer, alegeți Recuperați de pe iCloud.
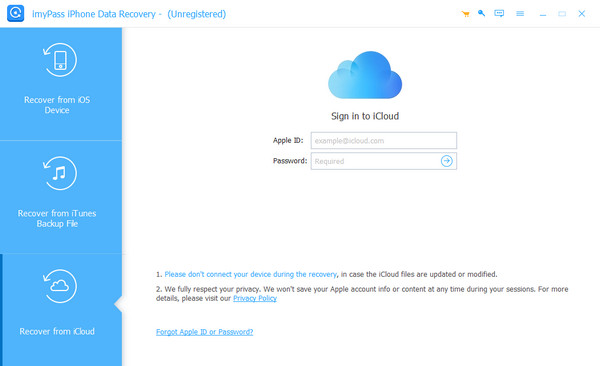
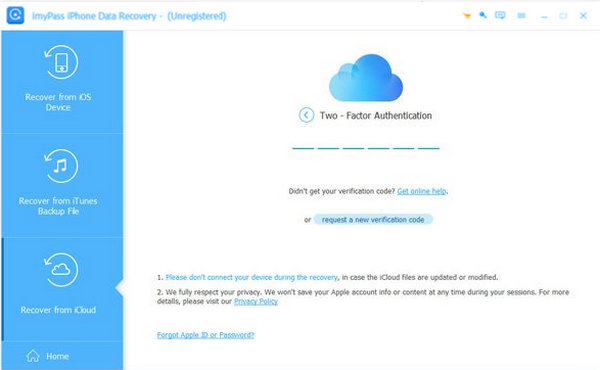
Notă: Dacă ați activat autentificarea cu doi factori, introduceți codul de verificare primit pe dispozitiv în acest software.
Pasul 2 Descărcați Backup/Selectați datele de scanat
Iată două moduri separate de scanare a datelor șterse de pe iCloud.
Descărcați Backup pentru scanare
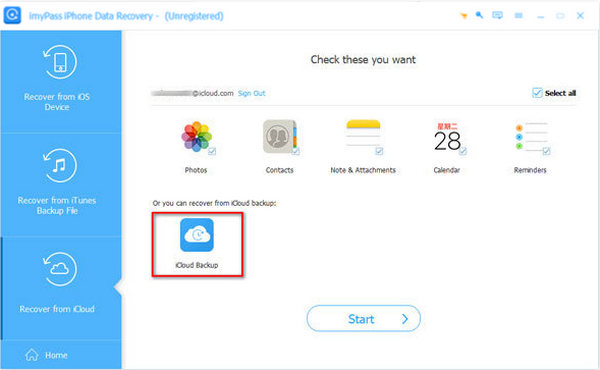
O modalitate este să faceți clic Backup iCloud pentru a recupera datele din backup iCloud.
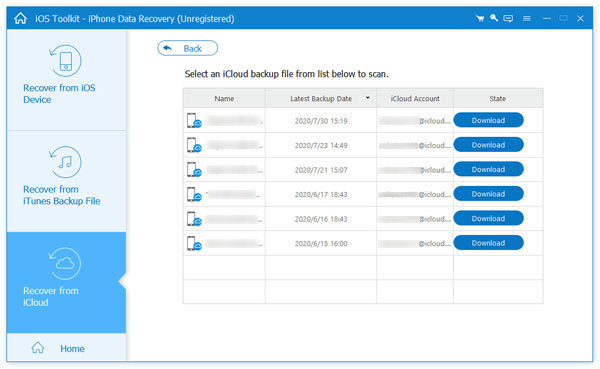
Apoi, puteți vedea toate copiile de rezervă iCloud pe care le-ați făcut vreodată. Selectați unul pentru a descărca în funcție de data copiei de rezervă.
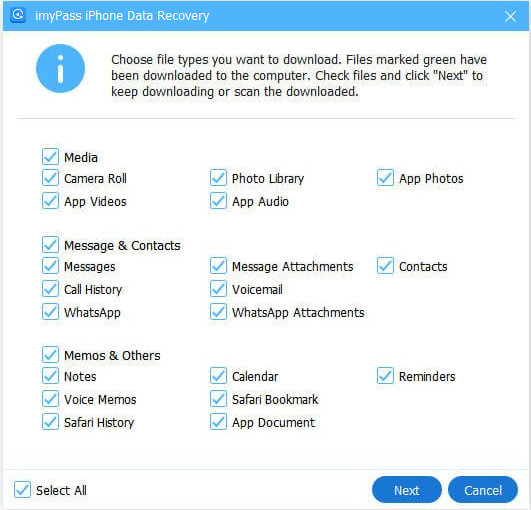
În fereastra următoare, verificați tipul de date pe care doriți să îl scanați. Clic Următorul și treceți la Pasul 3.
Selectați Date de scanat
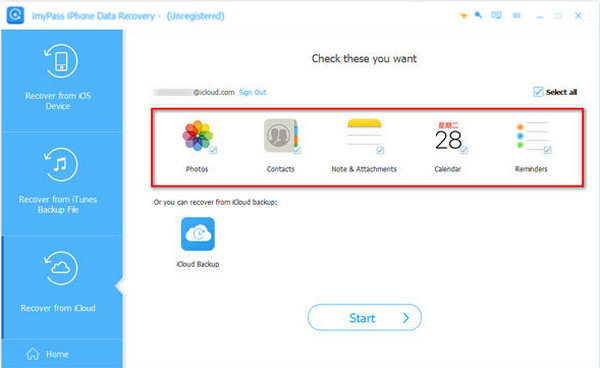
O altă modalitate este să selectați datele sincronizate din iCloud pentru a le recupera direct din Fotografii, Contacte, Note și Atașamente, Calendare și Mementouri.
După ce ați verificat tipul de date pe care doriți să îl recuperați, faceți clic start și treceți la Pasul 3.
Pasul 3Alegeți și recuperați datele
Acum, puteți vedea toate datele dvs. iCloud. Filtrul se face prin verificarea și debifarea tipurilor de fișiere din stânga și alegând din Arată toate și Afișați numai șterse pe partea de sus.
După ce selectați toate datele pe care doriți să le recuperați, faceți clic pe Recuperare în colțul din dreapta jos.
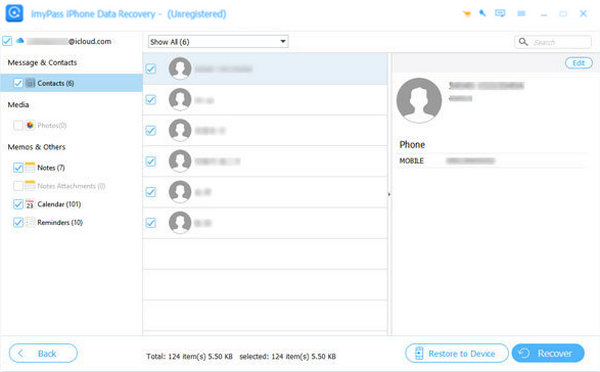
Faceți clic pe Deschidere pentru a seta folderul de ieșire și faceți clic pe Recuperare pentru a salva datele pe computer.

Notă: După cum se arată în imaginea de date iCloud, există un buton numit Restaurați pe dispozitiv. Este afișat numai atunci când alegeți contactele de restaurat. Vă puteți restabili direct contactele pe iDevice făcând clic pe acest buton.
 Recuperare date iPhone


